
You can make a stroller bag with sturdy fabric, simple measurements, and a few basic sewing tools.
Learning how to make a stroller bag lets you create storage that fits your stroller, daily routine, and personal style. This practical guide covers fabric choice, measurements, sewing steps, safety checks, and easy design ideas so you can make a useful bag with confidence.

Why Make a Stroller Bag?
A stroller bag gives you extra space for diapers, snacks, wipes, toys, water bottles, and small personal items. Many store-bought stroller organizers are useful, but they may not fit every handlebar or storage need.
When you learn how to make a stroller bag, you can choose the size, pockets, fabric, and closure. You can also reuse strong fabric from an old tote bag, curtain, or pair of jeans.
A handmade stroller bag can be simple or detailed. A beginner can sew a basic open tote, while an experienced maker can add zip pockets, bottle holders, insulation, or adjustable straps.
The main goal is safe, balanced storage. The bag should not block the child’s view, touch the wheels, affect the brake, or hang where little hands can pull it down.

Materials and Tools You Will Need
Before learning how to make a stroller bag, gather all your supplies. Good materials make the sewing process easier and help the finished bag hold its shape.
Basic materials
• 1/2 to 1 yard of medium-weight cotton canvas or denim
• 1/2 yard of cotton lining fabric
• 1 to 2 yards of nylon webbing for stroller straps
• Coordinating sewing thread
• Lightweight fusible interfacing
• One or two snaps, buttons, or strips of hook-and-loop tape
• Optional elastic for bottle pockets
• Optional zipper for a secure pocket
Canvas is a strong choice because it resists wear and holds its shape. Quilting cotton works for the lining, but it may need interfacing to prevent sagging.
Avoid thin silk, loose knits, or very light fabric for the outer layer. These fabrics can stretch, tear, or collapse under the weight of daily supplies.
Helpful tools
• Sewing machine
• Fabric scissors or a rotary cutter
• Measuring tape or ruler
• Fabric clips or pins
• Fabric marker
• Iron and ironing board
• Seam ripper
• Point-turning tool or blunt pencil
A walking foot can help when sewing thick canvas and webbing. It is not required, but it may keep the fabric layers moving evenly.

Choose the Right Size
The best stroller bag size depends on your stroller handlebar and what you plan to carry. A small bag works well for keys, a phone, and snacks. A larger bag can hold diapers, wipes, clothing, and feeding supplies.
For a useful everyday size, start with these finished measurements:
• Width: 14 inches
• Height: 10 inches
• Depth: 3 to 4 inches
• Strap length: 8 to 12 inches per strap
These measurements create a compact organizer without making the bag too heavy. You can change the width, but keep the bag narrow enough to stay clear of the stroller frame and wheels.
Measure the space between the stroller handles before cutting. Some strollers have one continuous handle, while others have two separate handles. This detail affects the strap placement.
A simple rule is to keep the bag centered and close to the handlebar. A bag that hangs too low acts like a pendulum. It can swing into the stroller, touch the wheels, or make steering less comfortable.
Make a Simple Stroller Bag Pattern
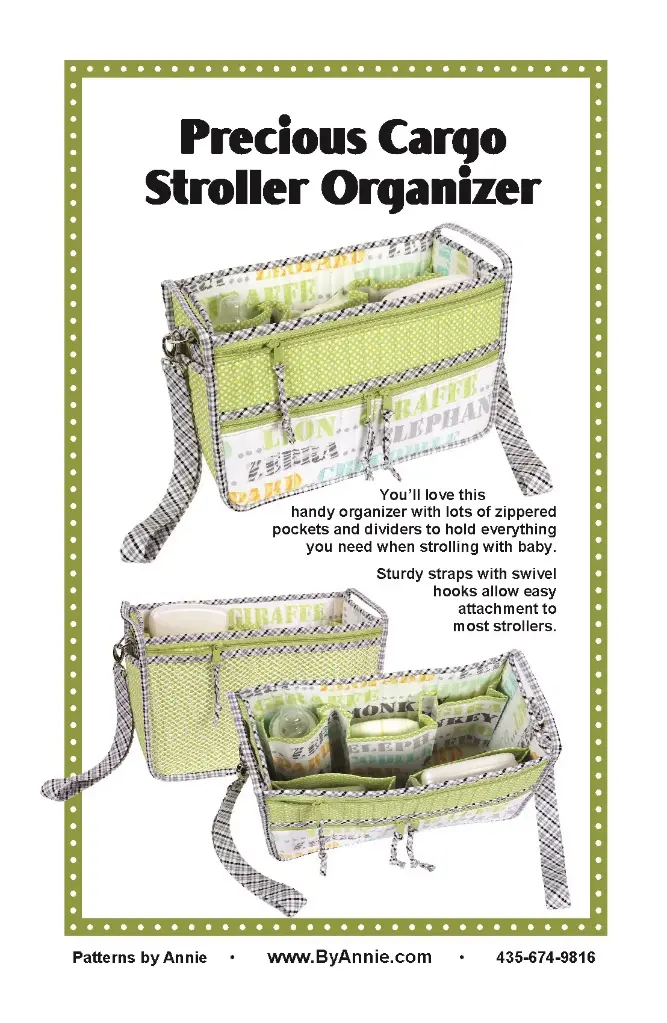
You do not need a printed pattern to make a stroller bag. A ruler, paper, and a few measurements are enough.
For the main bag, cut:
• Two outer fabric pieces measuring 15 by 11 inches
• Two lining pieces measuring 15 by 11 inches
• Two optional side panels measuring 4 by 11 inches
• Two webbing straps measuring 10 inches each
The extra inch in the width and height allows for a 1/2-inch seam allowance. If you want a deeper bottom, use side panels or create boxed corners.
For a flat-bottom bag, cut a 2-inch square from both lower corners of the outer pieces and lining pieces. After sewing the side and bottom seams, pinch each cut corner so the side seam meets the bottom seam. Sew across the opening.
If you prefer a simple flat pouch, skip the corner cuts. The bag will be easier to sew but will have less room at the bottom.
Label the outer fabric, lining, pocket pieces, and strap pieces. This small step prevents confusion once you begin sewing.

How to Make a Stroller Bag Step by Step
Now you can start sewing. Pressing each seam as you work gives the bag a neat shape and helps the pieces fit together.
1. Add interfacing
Place fusible interfacing on the wrong side of the outer fabric. Follow the instructions that come with the interfacing.
Use a pressing motion instead of sliding the iron. Let the fabric cool before moving it. This helps the adhesive bond well.
Interfacing is especially useful when learning how to make a stroller bag because it gives soft fabric more body. It also helps the bag resist sagging when you add supplies.
2. Sew the outer bag
Place the two outer fabric pieces with their right sides facing each other. Clip or pin the sides and bottom.
Sew along both sides and the bottom using a 1/2-inch seam allowance. Backstitch at the start and end of each seam.
If you cut out bottom corners, sew them closed now. Turn the outer bag right side out, but do not press it yet if the corners need more shaping.
3. Sew the lining
Place the lining pieces right sides together. Sew the sides and bottom, but leave a 4-inch opening in the bottom seam.
This opening allows you to turn the complete bag right side out later. Mark the opening with clips so you do not sew it closed by accident.
Sew the lining corners in the same way as the outer bag. Keep the lining wrong side out.
4. Add pockets
A pocket can make a stroller bag far more useful. Cut a pocket piece that is about 8 by 7 inches for a medium front pocket.
Fold the top edge down twice by 1/2 inch. Press and stitch it in place. Fold the remaining edges under by 1/2 inch.
Place the pocket on the outer bag and sew along the sides and bottom. Divide it into two sections if you want separate spaces for a phone and keys.
For a bottle pocket, use a 7 by 9-inch fabric rectangle. Sew the short ends together, gather or fold the lower edge, and attach elastic near the top. Make sure the pocket holds a bottle snugly without stretching the bag.
5. Attach the straps
Fold each webbing strap in half to find its center. Place the strap ends on the outer bag, with the raw ends extending about 1 inch below the top edge.
Position the straps evenly. A spacing of 4 to 6 inches from each side often works for a medium bag, but your stroller may need a different layout.
Sew each strap to the bag with a box-and-cross pattern. This stitch looks like a square with an X inside. It spreads the load and is stronger than a single straight line.
Do not rely on decorative stitching alone. The straps carry the bag’s weight, so reinforce them with several rows of stitching.
6. Join the outer bag and lining
Place the outer bag inside the lining. The right sides of both pieces should face each other, and the straps should sit between the layers.
Match the side seams and top edges. Clip around the opening, then sew all the way around the top.
Take your time at the strap areas. Sew slowly over thick layers to avoid skipped stitches or broken needles.
7. Turn and finish the bag
Pull the bag through the opening in the lining. Push out the corners with a blunt tool.
Press the top edge carefully. Tuck the raw edges of the lining opening inside and sew it closed with a narrow seam.
Topstitch around the upper edge of the bag. This step improves the shape and keeps the lining from rolling outward.

Add Safe and Useful Features
Once you know how to make a stroller bag, you can adjust the design for your needs. Keep every feature practical and avoid adding anything that could create a hazard.
Useful design ideas
• A zippered pocket for keys, cards, or a phone
• Elastic side pockets for bottles
• A washable inner lining
• A small loop for a pacifier clip
• A reflective strip for low-light walks
• A removable shoulder strap
• A wipe-clean fabric panel
A zipper can protect small items, but it also adds sewing time. Hook-and-loop tape is faster to install and easier for many beginners.
Avoid long cords, loose ribbons, sharp decorations, and dangling charms. These parts can catch on the stroller or become accessible to a child.
Do not add a heavy metal frame unless you understand how it changes the bag’s weight and balance. A soft, reinforced bag is usually safer and easier to use.

How to Attach the Bag to a Stroller
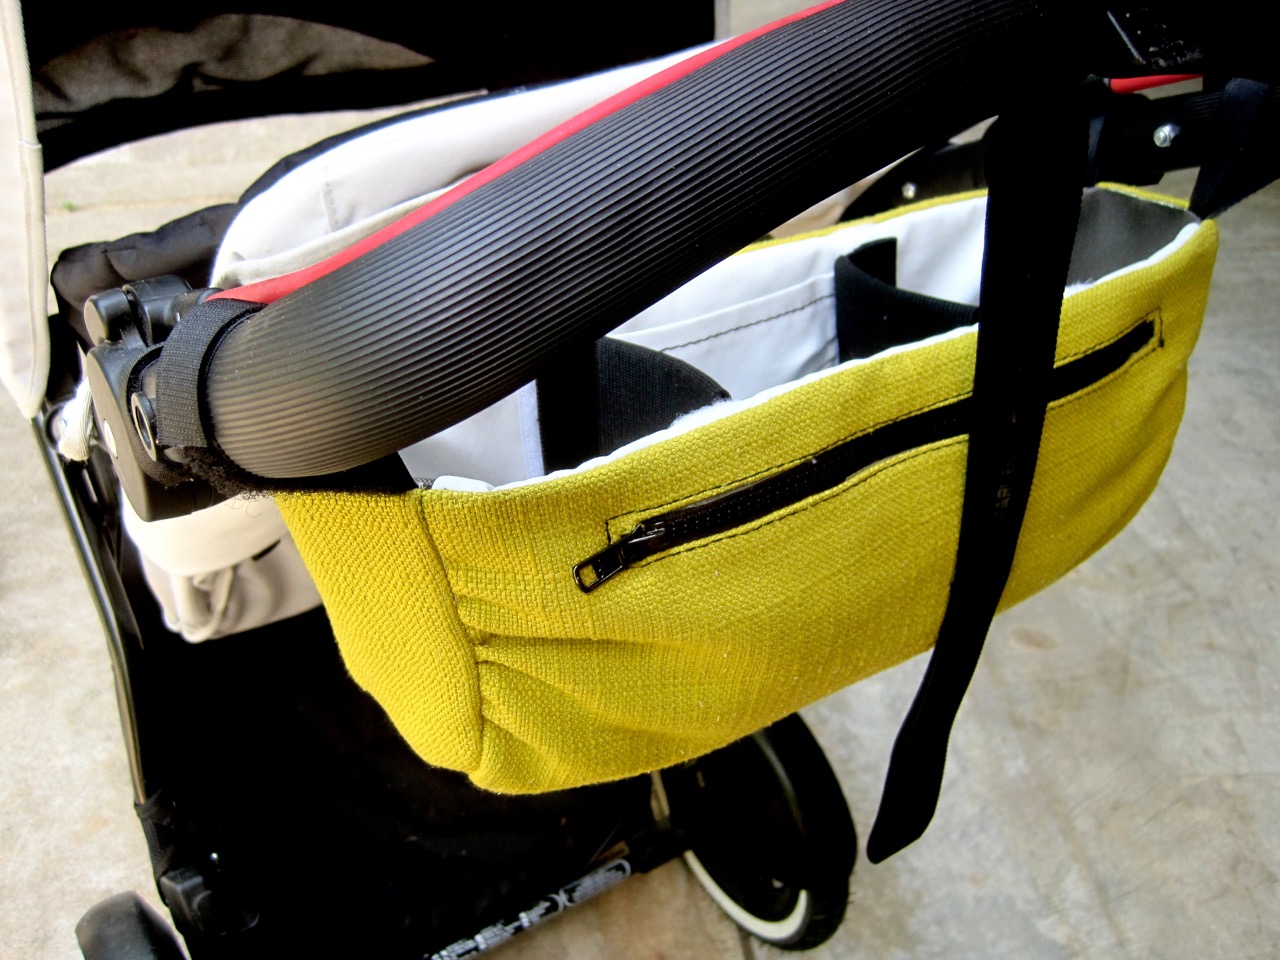
Wrap each strap around the stroller handlebar and secure it firmly. The bag should sit high enough to avoid the wheels and low enough to remain easy to reach.
If you use hook-and-loop tape, make sure the stitched area is wide and strong. A small patch may open under repeated weight.
Check these points before using the bag:
• The straps do not cover the brake lever
• The bag does not touch the wheels
• The bag does not block the child’s harness
• The stroller can fold as designed
• The bag stays centered during turns
• The handlebar remains comfortable to grip
Always follow the stroller maker’s instructions about handlebar attachments and maximum loads. Do not assume that a strong bag makes any stroller safe for unlimited weight.
A stroller can tip backward when too much weight hangs from the handle. This is one of the most important limitations of any stroller organizer. Keep heavy items in the stroller’s approved storage basket when possible.
Test the Finished Stroller Bag
Testing is a key part of learning how to make a stroller bag. A bag may look perfect on a table but behave differently when attached to a moving stroller.
Start with lightweight items. Add a few diapers, a small pack of wipes, and a water bottle. Walk indoors and check for swinging, slipping, or pulling.
Next, test the bag outdoors on a smooth path. Turn the stroller, stop it, use the brake, and roll over a small change in surface.
Inspect the straps after testing. Look for loose stitches, stretched webbing, torn fabric, or bent hardware. Repair any weak point before regular use.
A useful maker lesson is to test the attachment before filling the bag completely. Many sewing problems appear at the strap base, where several layers meet. Strong reinforcement there can prevent a small issue from becoming a dropped bag.
Cleaning and Maintaining a Handmade Stroller Bag
A stroller bag often faces spills, crumbs, rain, and dirt. Choose materials that match your cleaning routine.
For regular care:
• Empty the bag before cleaning
• Shake out crumbs and dust
• Wipe coated fabric with mild soap and water
• Follow the care label for washable fabric
• Air-dry the bag fully before using it
Do not use harsh bleach unless the fabric maker allows it. Strong chemicals can weaken thread, webbing, elastic, and waterproof coatings.
Inspect the bag every few weeks. Pay close attention to the strap stitching, pocket corners, snaps, and seams. Replace the bag if the fabric becomes brittle or the attachment points cannot be repaired safely.
A washable liner can extend the life of the bag. You can also make a second liner or use a removable pouch for snacks and messy items.
Common Mistakes to Avoid
The most common mistake when learning how to make a stroller bag is ignoring the stroller itself. A design that works on one model may not work on another.
Avoid these errors:
• Making the bag too deep
• Using weak thread or narrow straps
• Skipping interfacing on soft fabric
• Attaching straps with only one line of stitches
• Placing pockets where they hit the handlebar
• Overloading the bag
• Covering the brake or folding joint
• Using loose decorations near a child
Another mistake is cutting fabric without checking the seam allowance. Measure twice and cut once. This old sewing rule saves fabric and frustration.
Do not make the bag so large that it becomes a second diaper bag. A compact stroller bag is easier to balance, carry, clean, and remove.
Frequently Asked Questions About How to Make a Stroller Bag
What fabric is best for a stroller bag?
Medium-weight canvas, denim, and durable cotton are good choices. Add fusible interfacing when the fabric feels thin or soft.
Can a beginner make a stroller bag?
Yes. A beginner can start with a simple rectangular tote that uses two straps and no zipper. Basic straight stitching, careful measuring, and pressing are enough for a useful first project.
How do I keep a stroller bag from slipping?
Use wide nylon webbing and sew each strap with a reinforced box-and-cross stitch. Adjust the strap length so the bag sits close to the handlebar without hanging too low.
How much weight can a stroller bag hold?
The safe weight depends on the stroller, handle design, and manufacturer’s instructions. Keep the bag light, place heavier items in the approved basket, and stop using the bag if it affects steering or balance.
Can I use an old tote bag to make a stroller bag?
Yes. An old tote can provide strong fabric, webbing, and even useful pockets. Inspect it for worn seams, then reinforce the attachment points before using it on a stroller.
Should a stroller bag have a zipper?
A zipper is helpful for keys, money, and other small items. However, an open pocket or hook-and-loop closure is simpler and may be easier to access during a walk.
Conclusion
Learning how to make a stroller bag is a practical sewing project that combines simple construction with thoughtful safety. Choose strong fabric, measure your stroller, reinforce the straps, add useful pockets, and test the finished bag with a light load.
Keep the bag balanced and clear of wheels, brakes, folding parts, and the child’s harness. Start with a simple design, then improve it as you gain sewing confidence. Make your first stroller bag this week, and share your favorite pocket or fabric idea with other makers.