
Draw a baby by blocking simple shapes, refining proportions, and adding soft details for charm.
I’ve drawn hundreds of babies in sketches, cartoons, and portraits. This guide on how to draw a baby walks you through clear steps, practical tips, and real-world tricks I use in my work. Read on and you’ll learn proportion rules, how to render soft baby skin, how to capture expressions, and simple practice drills that speed up your progress.

Materials and tools
Choose simple tools that help you learn. Start with a pencil, eraser, paper, and a blending stump or tissue for soft shading. If you like digital art, use a basic brush and low opacity for subtle skin tones. Good paper, a soft pencil (2B–4B), and a kneaded eraser make corrections easy and forgiving.
Understand baby proportions and anatomy
Babies have unique proportions that set them apart from adults. The head is large compared to the body. A newborn’s head can be nearly one-fourth to one-third of total height, so place emphasis on roundness and softness.
Key proportion rules to remember:
- Head and face: Big and round with a low hairline and short jaw.
- Eyes: Set lower on the face than on adults; roughly halfway down the head.
- Limbs: Short and slightly chubby with soft joints.
- Torso: Short and rounded with a larger chest than hips.
Why proportions matter: Getting the head and eye placement right instantly makes your drawing look like a baby. Practice simple head ovals and measure with light lines to keep proportions consistent.
PAA-style question 1: How is a baby’s head different from an adult’s?
A baby’s head is rounder and larger relative to the body, with a lower face midpoint and softer jawline.
PAA-style question 2: Where should I place the eyes on a baby’s face?
Place the eyes slightly lower than the center of the head oval; this low position makes the face read as infantile.
Step-by-step: how to draw a baby
Follow these steps to produce a clean, childlike drawing. Each step is short and repeatable.
- Block basic shapes
- Draw a large oval for the head and a small rounded rectangle for the torso.
- Add soft cylinders for arms and legs. Keep lines loose and light.
- Map facial guides
- Draw a vertical center line and a low horizontal eye line.
- Mark eye, nose, and mouth positions with tiny dots.
- Refine features
- Draw big, rounded eyes with a large iris and small pupils.
- Use a tiny button nose and a small mouth with a gentle smile.
- Keep ears small and low on the head.
- Add hair and details
- Use soft, short strokes for hair. Babies often have fine hair and light volume.
- Draw subtle folds at the neck, wrists, and knees to show soft skin.
- Define clothing and props
- Draw loose clothing like a onesie. Keep fabric soft with gentle folds.
- Add props like a blanket or stuffed toy to create context.
- Finalize with value and line work
- Erase construction lines lightly.
- Add soft shading to show roundness. Use a blending stump or low-opacity brush.
- Keep outlines thin and slightly broken for a tender look.
Practice this sequence when learning how to draw a baby. Repeat with different poses and ages to build skill.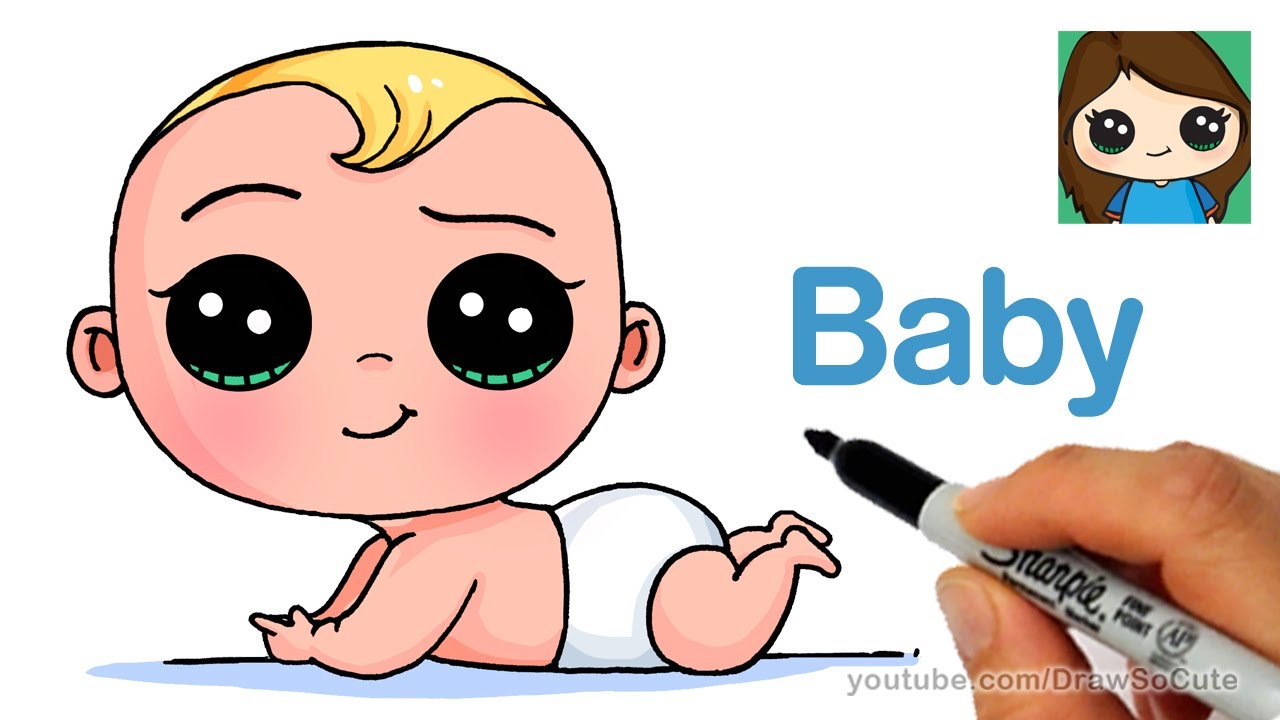
Facial features and expressions
Expression makes a baby believable and alive. Tiny changes can shift mood quickly.
Tips for expressive faces:
- Eyes: Make them round and reflective. Add a bright highlight to convey moisture and life.
- Eyebrows: Keep them soft and simple. Slight raises suggest surprise or joy.
- Mouth: Small and curved. A tiny open mouth reads as curious or playful.
- Cheeks: Add light shading to suggest plumpness and softness.
Personal tip: When I sketch portraits, I exaggerate the eye size by a small amount. The drawing instantly reads as infantile without becoming cartoonish.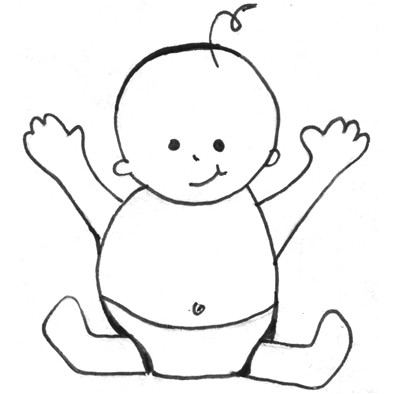
Clothing, props, and poses
Clothing and props tell a story. Choose items that suit the age and mood.
Pose ideas:
- Lying on back with arms up: Common newborn pose that shows soft belly and limbs.
- Sitting with support: Good for older infants and shows torso balance.
- Crawling or reaching: Expresses motion and curiosity.
Prop tips:
- Soft blanket: Adds texture and context.
- Bottle or toy: Helps show scale and interaction.
- Parent’s hand: Great for scale and emotional connection.
When learning how to draw a baby, sketch quick pose thumbnails first. Thumbnails help you find clear silhouettes and avoid awkward limb placement.
Shading and coloring basics
Soft shading makes a baby’s skin look tender and round. Use light strokes and gradual value changes.
Simple shading approach:
- Establish a light source.
- Add soft core shadow under the chin, neck folds, and inner limbs.
- Use gentle midtones for cheeks and forehead.
- Highlight the rounded parts like the nose tip, cheeks, and knees.
Color tips for digital and traditional:
- Use warm, muted skin tones. Babies rarely have strongly saturated skin.
- Blend edges softly. Harsh lines break the illusion of soft skin.
- Keep cheeks slightly rosier to suggest warmth and health.
My studio method: I layer thin washes and gradually build up warmth. This prevents blotchy color and keeps the skin looking smooth.
Common mistakes to avoid
Avoid these pitfalls when learning how to draw a baby. Fixing them early saves frustration.
Common errors:
- Placing eyes too high: Makes the face look adult.
- Drawing hard, dark outlines: Harsh lines remove softness.
- Over-detailing hair: Babies have simple, fine hair.
- Stiff limb poses: Babies are loose and rounded in motion.
How I corrected my own work: I started using lighter construction lines and erased more frequently. This reduced overworking and kept drawings fresh.
Practice exercises and mini projects
Practice with focused drills to get faster.
Exercise list:
- 10-minute head studies: Draw heads in different angles using simple shapes.
- 5-minute gesture poses: Capture pose and motion quickly.
- Feature drills: 20 quick eyes, 20 noses, 20 mouths to build muscle memory.
- Rocking chair project: Draw a baby with a parent to practice scale and interaction.
Mini project ideas:
- Create a set of three age studies: newborn, 3 months, 9 months.
- Make a simple picture book page showing a baby reaching for a toy.
These drills teach how to draw a baby in many contexts. Repetition builds confidence fast.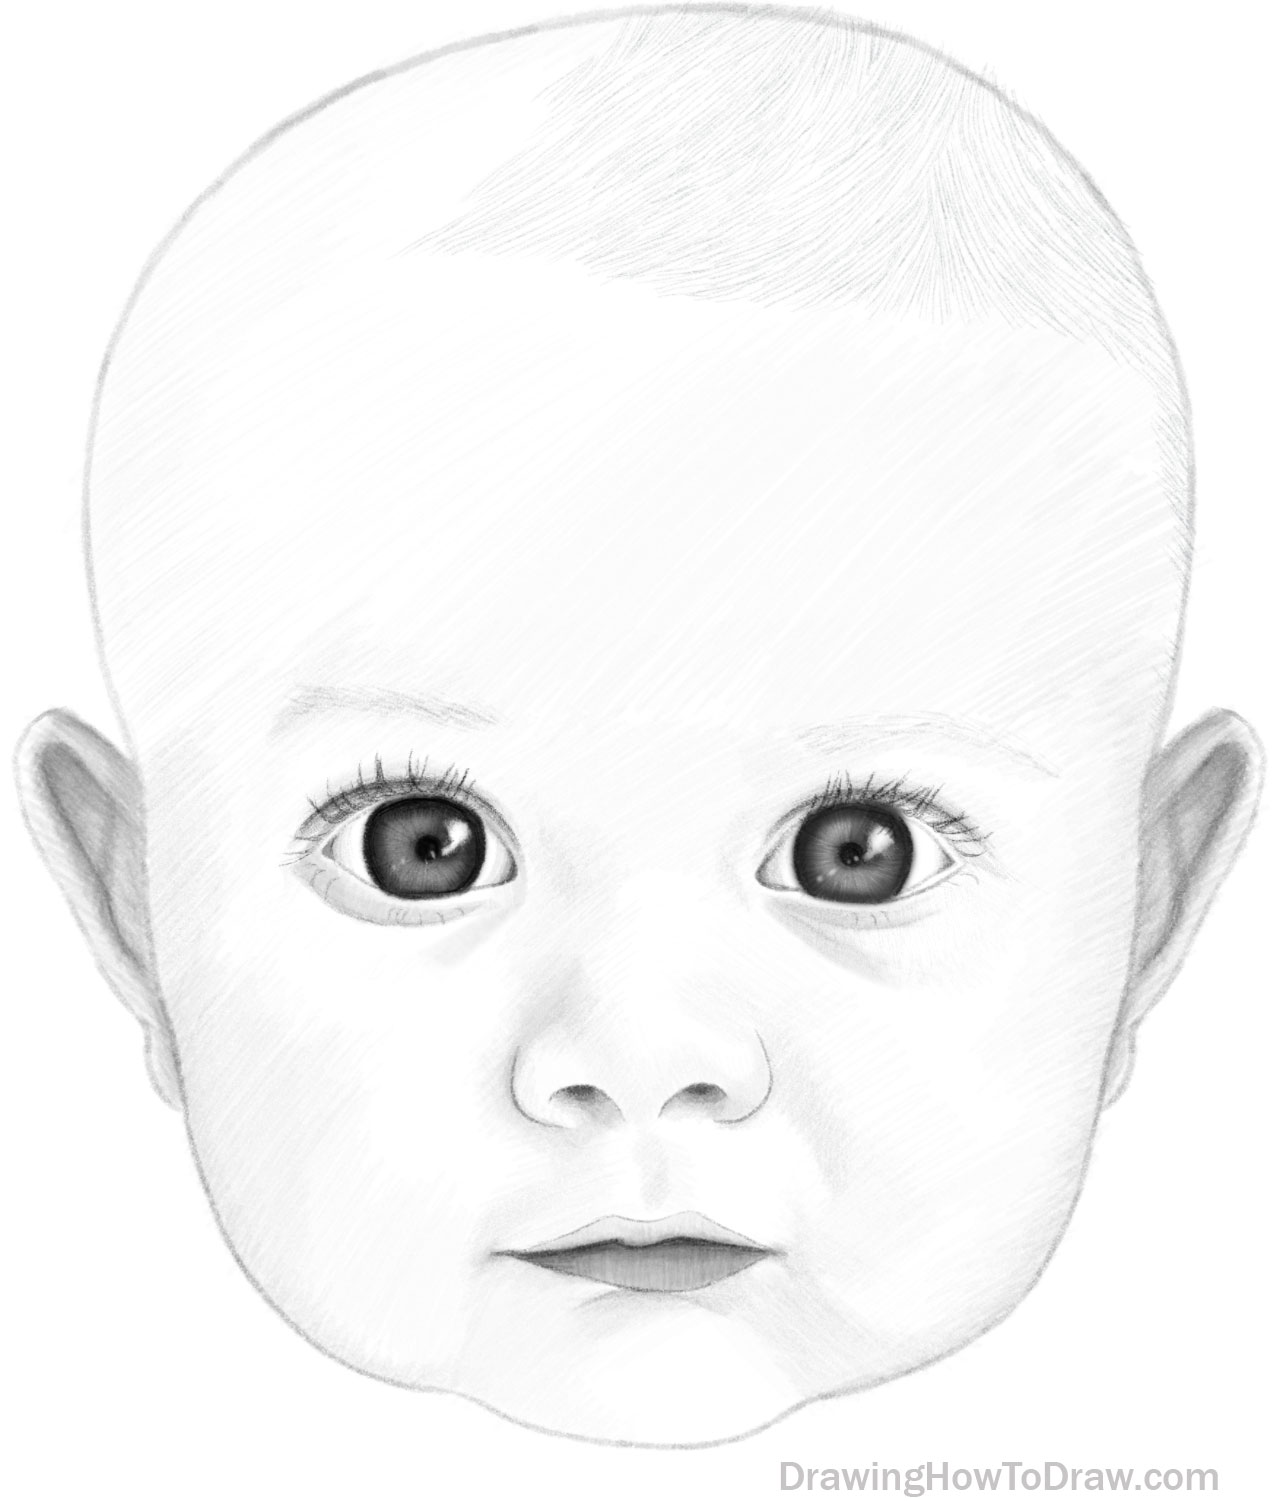
Frequently Asked Questions of how to draw a baby
How do I start drawing a baby if I’m a beginner?
Start with simple shapes: large head oval, small torso, and short limbs. Keep lines loose and focus on proportion before details.
What tools work best for baby drawings?
Use a soft pencil like 2B–4B, an eraser, and blending tools. For digital art, a soft round brush and low opacity settings help.
How do I make a baby look soft and realistic?
Use soft shading and broken outlines. Blend gently and avoid sharp edges on skin and clothing.
How can I capture baby expressions?
Exaggerate small changes in the eyes and mouth. Slight eyebrow lifts and round eyes convey curiosity or joy.
How can I practice faster improvement?
Do short timed studies, focus on one feature at a time, and repeat simple poses daily. Track progress and refine proportion rules.
Conclusion
You now have a clear roadmap for how to draw a baby. Start with simple shapes, learn key proportions, and practice expressive features. Use short drills and real-life observation to speed your growth. Try a daily 10-minute sketch challenge and watch your confidence build. Share your progress, ask for feedback, or subscribe for more step-by-step art guides.