
Make simple purees by steaming or roasting, then blend and freeze in small portions.
I’ve helped many new parents learn how to make baby food with safe, simple steps. I write from years of hands-on experience creating meals for infants, testing textures, and learning what works. This guide covers when to start, the tools you need, step-by-step methods for fruits, vegetables, grains, and proteins, safe storage, allergy guidance, and practical tips to save time and reduce waste. Read on to gain confidence and clear, usable techniques for how to make baby food at home.
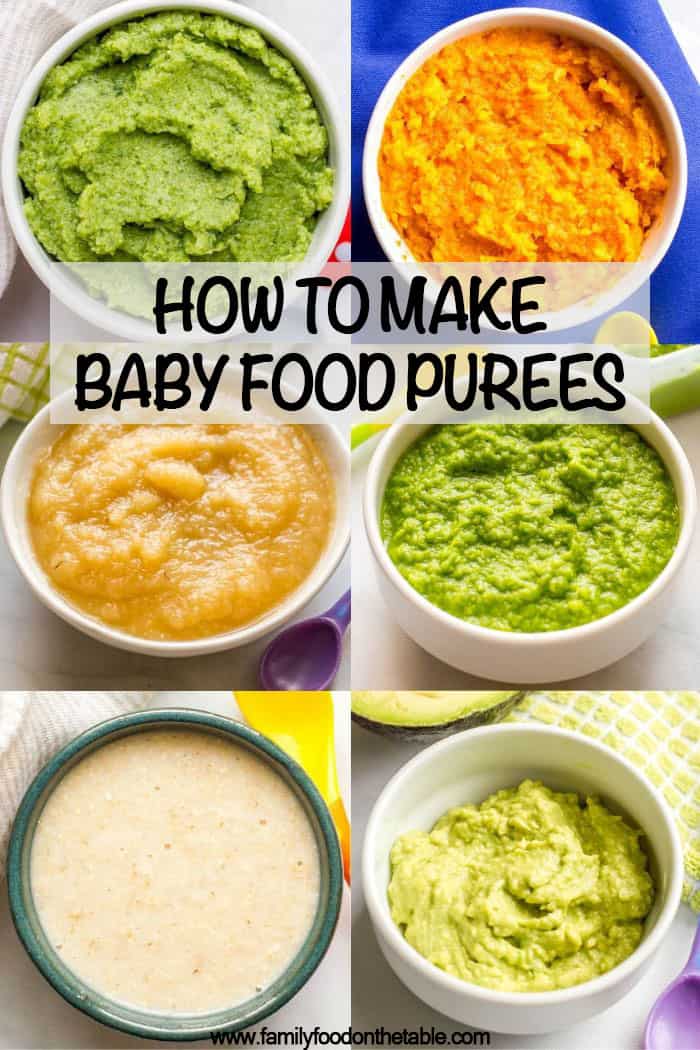
When to start and the basics you need to know
Babies usually show signs of readiness for solids around six months of age. Look for steady head control, interest in food, and ability to sit with support. Starting earlier can increase risks, and starting much later can make textures harder to accept.
Keep these core ideas in mind when you plan how to make baby food:
- Aim for single-ingredient foods first so you can spot reactions.
- Use fresh produce when possible, but frozen is often just as nutritious.
- Favor steaming and roasting to preserve nutrients and flavor.
I’ve seen parents worry about timing. Trust developmental cues more than calendar dates. If in doubt, ask your pediatrician. Research supports waiting until about six months for many babies to reduce allergy and digestion problems.
Equipment and safety essentials for making baby food
You do not need fancy gear to make real food for your baby. Start with a few reliable items and upgrade only if you cook often.
Must-have items:
- A good blender or food processor for smooth purees.
- A steamer basket or a small pot with a lid for gentle cooking.
- A sharp knife and a cutting board.
- Freezer trays or small containers for portioning.
- A food thermometer to check temperatures when reheating.
Nice-to-have items:
- An immersion blender for quick blending in pots.
- Silicone ice cube trays sized for 1–2 ounce portions.
- A small, sturdy silicone spatula for scraping bowls.
Safety tips:
- Always wash hands and clean surfaces before preparing food.
- Use separate cutting boards for raw meat and produce.
- Cool food quickly and refrigerate within two hours.
- Reheat only once and discard leftovers after reheating.
From my kitchen trials, a simple setup works best. I used my blender and a silicone tray for a year before buying more gadgets. The extra tools are helpful but not essential.
How to make baby food: step-by-step methods and recipes
This section gives clear, repeatable methods for how to make baby food. Use the steps to make single-ingredient purees, mixed blends, and finger-food transitions.Basic steps for vegetable or fruit purees:
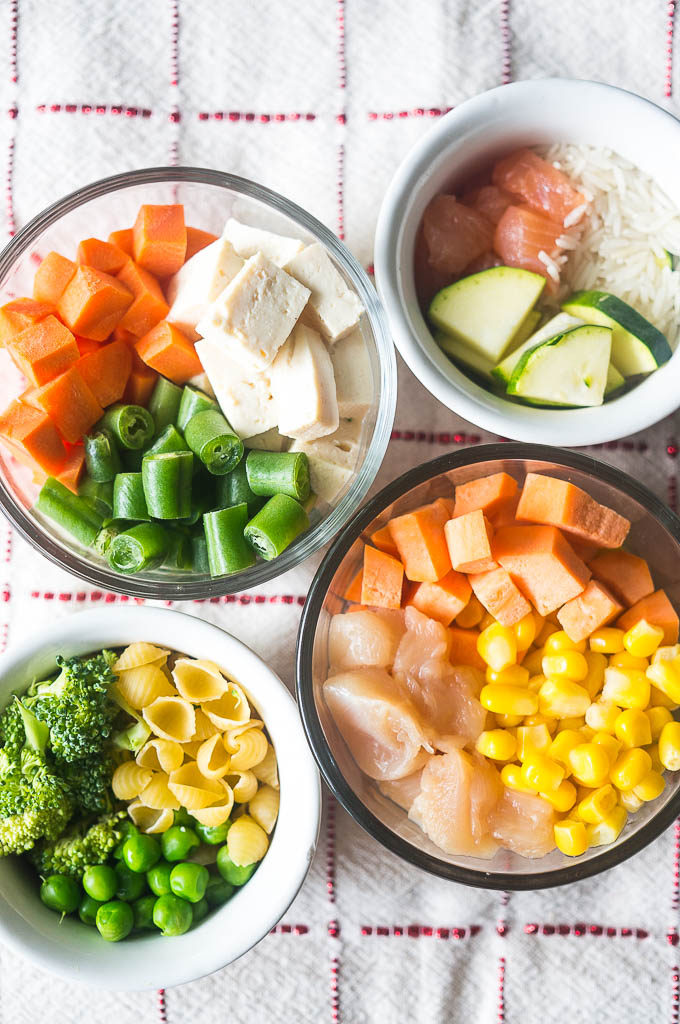
- Wash and peel if needed.
- Cut into uniform pieces.
- Steam or roast until very soft.
- Blend with a little liquid (breast milk, formula, or cooking water) to desired texture.
- Cool, portion, and store.
Tips on liquids and texture:
- For first purees, aim for thin, smooth textures. Use 1–2 tablespoons of liquid for each cup of cooked food.
- Gradually reduce liquid to make thicker purees and lumps for texture progression.
- For thicker purees for older babies, use yogurt, mashed avocado, or mashed banana.
Easy recipes:
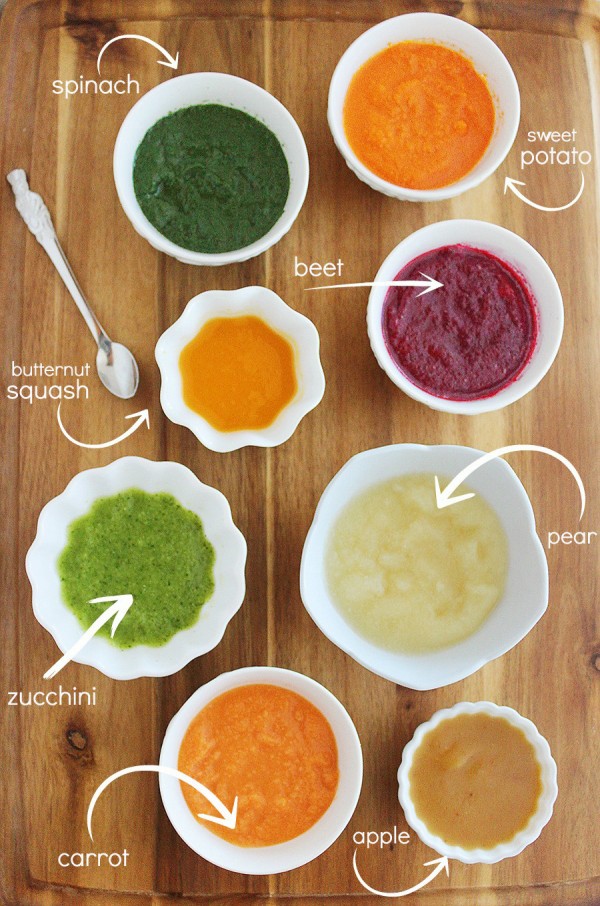
- Sweet Potato Puree
- Roast or steam a sweet potato until tender. Scoop flesh and blend with a spoonful of breast milk or water. Freeze in small portions.
- Apple or Pear Puree
- Peel, core, and steam fruit until soft. Blend until very smooth and cool.
- Carrot and Apple Blend
- Steam carrots and apples together. Blend and add warm cooking water to smooth.
- Avocado Mash
- No cooking required. Mash ripe avocado with a fork. Serve immediately.
Protein and iron-rich options:
- Chicken Puree
- Simmer chicken breast until tender. Blend with cooking broth. Add a cooked vegetable for flavor.
- Lentil Puree
- Cook red lentils until soft. Blend with water or stock for a smooth puree. Lentils are a great iron source and often tolerated well.
Batch cooking and freezing method:
- Make batches of single-ingredient purees.
- Spoon into silicone ice cube trays and freeze.
- Pop cubes into labeled freezer bags and store up to 3 months.
- Thaw overnight in the fridge or warm gently in a pot.
Safety note: Reheat only the portion you need. Never refreeze previously thawed food.
From my experience, roasting often brings out flavors that babies prefer. Roasted carrots and sweet potatoes tasted sweeter and got better reactions than steamed versions the first time I tried them.

Storage, labeling, and thawing best practices
Good storage keeps food safe and saves time. Follow these rules to handle homemade baby food properly.
Storage rules:
- Refrigerate purees up to 48 hours.
- Freeze for up to 3 months for best quality.
- Label with contents and date on every container.
- Use shallow containers so food cools quickly.
Thawing and reheating:
- Thaw in the fridge overnight or fast-thaw in a warm water bath.
- Stir and test temperature before serving.
- Do not microwave in sealed containers; stir well to avoid hot spots.
Portioning tips:
- Start with 1–2 tablespoon servings for beginners.
- Use 1-ounce cubes from ice trays for easy portioning.
- Keep an extra stash of frozen single-ingredient cubes for quick mixing.
When I ran out of fresh purees, a labeled freezer bag saved the day. I kept a notebook with flavor combinations that worked so I could repeat favorites without guesswork.
Transitioning textures and introducing allergens
Texture progression helps babies learn to chew and swallow. Start smooth, then move to thicker purees, mashed foods, and soft finger foods.
Texture timeline suggestions:
- 4–6 months: Smooth purees (if starting earlier than six months, follow pediatric advice).
- 6–8 months: Thicker purees and mashed foods with small lumps.
- 8–10 months: Soft finger foods and minced textures.
- 10–12 months: More complex family foods, chopped finely.
Introducing allergens:
- Introduce common allergens like peanut, egg, dairy, tree nuts, wheat, fish, and soy one at a time.
- Offer small amounts at home and watch for reactions for 48–72 hours.
- If there is a family history of severe allergies, consult your pediatrician before introducing high-risk foods.
Practical tips:
- Mix a tiny amount of new food with a familiar puree to ease acceptance.
- Offer the same new food several times over days; babies may need many tries.
- Keep mealtimes relaxed and free of pressure — this helps acceptance.
I remember the first time I gave my niece peanut powder mixed into applesauce. I started with a tiny smear and watched closely. She tolerated it well, and it became a safe favorite later.
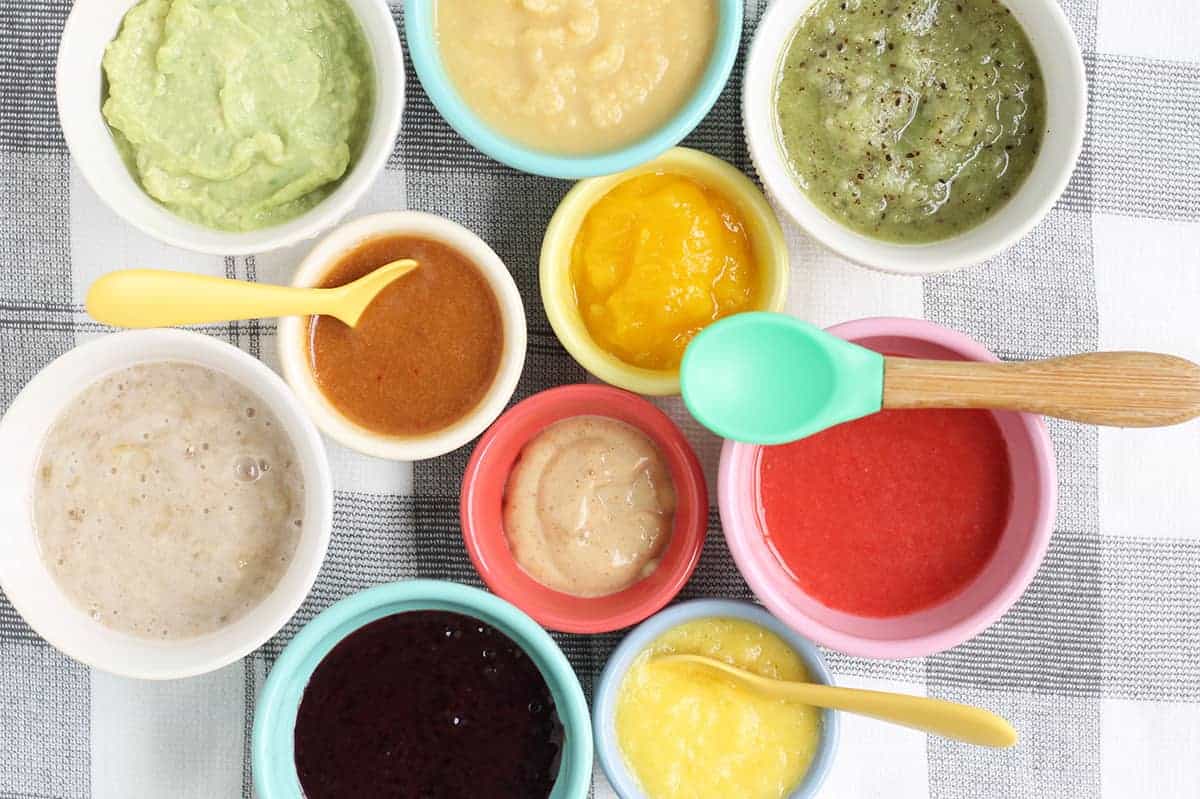
Common questions while learning how to make baby food
Here are short answers to common practical questions you will meet while learning how to make baby food.
What is the safest first food to make at home?
- Start with iron-rich single-ingredient foods like pureed lentils, beef, or fortified cereals, followed by vegetables like sweet potato and carrot. These are gentle on the stomach and nutrient-dense.
How often should I prepare homemade baby food?
- Many families cook once or twice a week and freeze portions to save time. Fresh variety is good, but convenience matters for consistency.
Can I mix breast milk or formula into purees?
- Yes. Use breast milk or formula to thin purees for familiar taste and extra calories. It also helps babies accept new textures.
How do I prevent puree from turning color?
- Acidic foods like apples can be mixed with a little lemon juice to slow browning, or store them tightly sealed in the fridge. Freezing also prevents browning.
How can I tell if a food caused an allergy?
- Watch for hives, swelling, vomiting, diarrhea, or breathing trouble within a few hours. Seek immediate care for severe signs and consult your pediatrician for mild reactions.
Personal lessons, mistakes to avoid, and time-saving tips
I’ve cooked countless batches for infants. Here are honest takeaways that save time and reduce stress.
Lessons and mistakes:
- Don’t overblend. Over-thinned purees make it hard to progress to textures.
- Avoid adding salt and sugar. Babies need the food’s natural taste.
- Test new foods alone for a few days to identify reactions.
Time-saving tips:
- Batch cook at the weekend and freeze in 1-ounce portions.
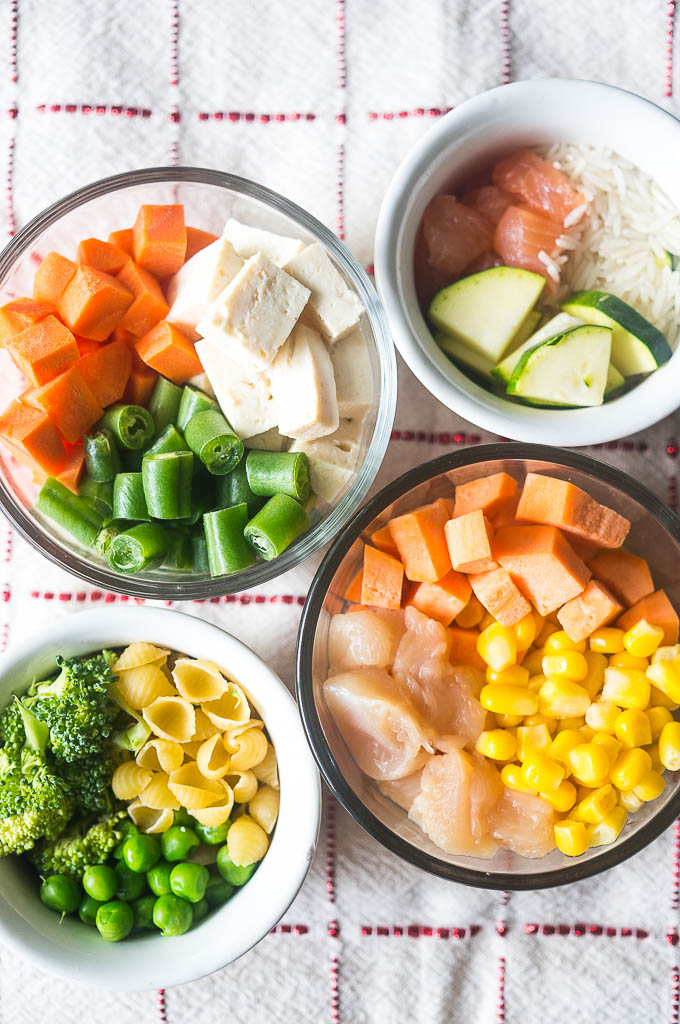
- Roast a tray of mixed root vegetables to use in several meals.
- Label freezer bags with both content and thaw date for rotation.
One big mistake I made was blending several new foods into one jar. When a rash appeared, it was hard to know the cause. Now I always introduce single foods first.
Frequently Asked Questions of how to make baby food
How long should I steam vegetables for baby purees?
Steam until the pieces are easily pierced with a fork, usually 8–15 minutes depending on the vegetable. Soft veggies mash better and blend into smooth purees.
Is it okay to use frozen fruits and vegetables?
Yes, frozen produce is nutritious and often flash-frozen at peak ripeness. Thaw and cook if needed before blending, then mix with liquid to reach the right texture.
Can I add salt or sugar to homemade baby food?
No. Avoid adding salt or sugar to baby food, as infants’ kidneys and taste preferences are still developing. Use natural flavors from herbs or a touch of unsalted stock if needed for older babies.
How should I reheat frozen baby food safely?
Thaw in the fridge overnight or warm a sealed container in a bowl of warm water. Stir well and test temperature before feeding.
When can my baby eat family meals I've prepared?
Once your baby handles mashed textures and has no swallowing issues, you can offer soft, chopped versions of family meals. Remove added salt, sugar, and hard pieces, and watch closely during meals.
Conclusion
Making baby food at home is simple, cost-effective, and rewarding. Start with single-ingredient purees, use gentle cooking methods like steaming and roasting, freeze in small portions, and move textures slowly as your baby grows. Trust your instincts, learn from small mistakes, and keep meals calm and consistent. Try a batch this weekend: pick two ingredients, steam or roast, blend, and freeze portions to see how your baby responds. Share your favorite recipes or questions in the comments, and consider subscribing for more practical baby-feeding guides.