
A buggy board, also called a stroller board or ride-on board, attaches to the rear of a stroller so an older child can stand and ride. To attach one safely in the United States, check that the board fits your stroller, follow the board maker’s instructions, secure both connectors, and test the board before your child steps on.
Most buggy boards use adjustable clamps, brackets, straps, or adapter parts. The exact method depends on the stroller frame and the board model. Never rely on a “universal” label alone. Fit, weight limits, brake access, folding, and steering can vary by stroller.
This guide explains how to attach a buggy board, how to check the fit, and what to do if the board feels loose or affects stroller control.


What You Need Before Attaching a Buggy Board
Before you start, gather the stroller, the buggy board, the board’s connectors, and the instruction manual. You usually do not need special tools, but some models may use bolts, screws, or a small wrench.
Check these points first:
- The board is approved for your stroller model or frame shape.
- The child meets the board maker’s minimum age and size guidance.
- The child stays within the stated weight limit.
- The board has all required brackets, clamps, pins, straps, and spacers.
- The stroller’s rear frame is clean and free from thick accessories.
- The stroller is on a flat surface with the parking brake set.
- The stroller can still fold as the manual describes.
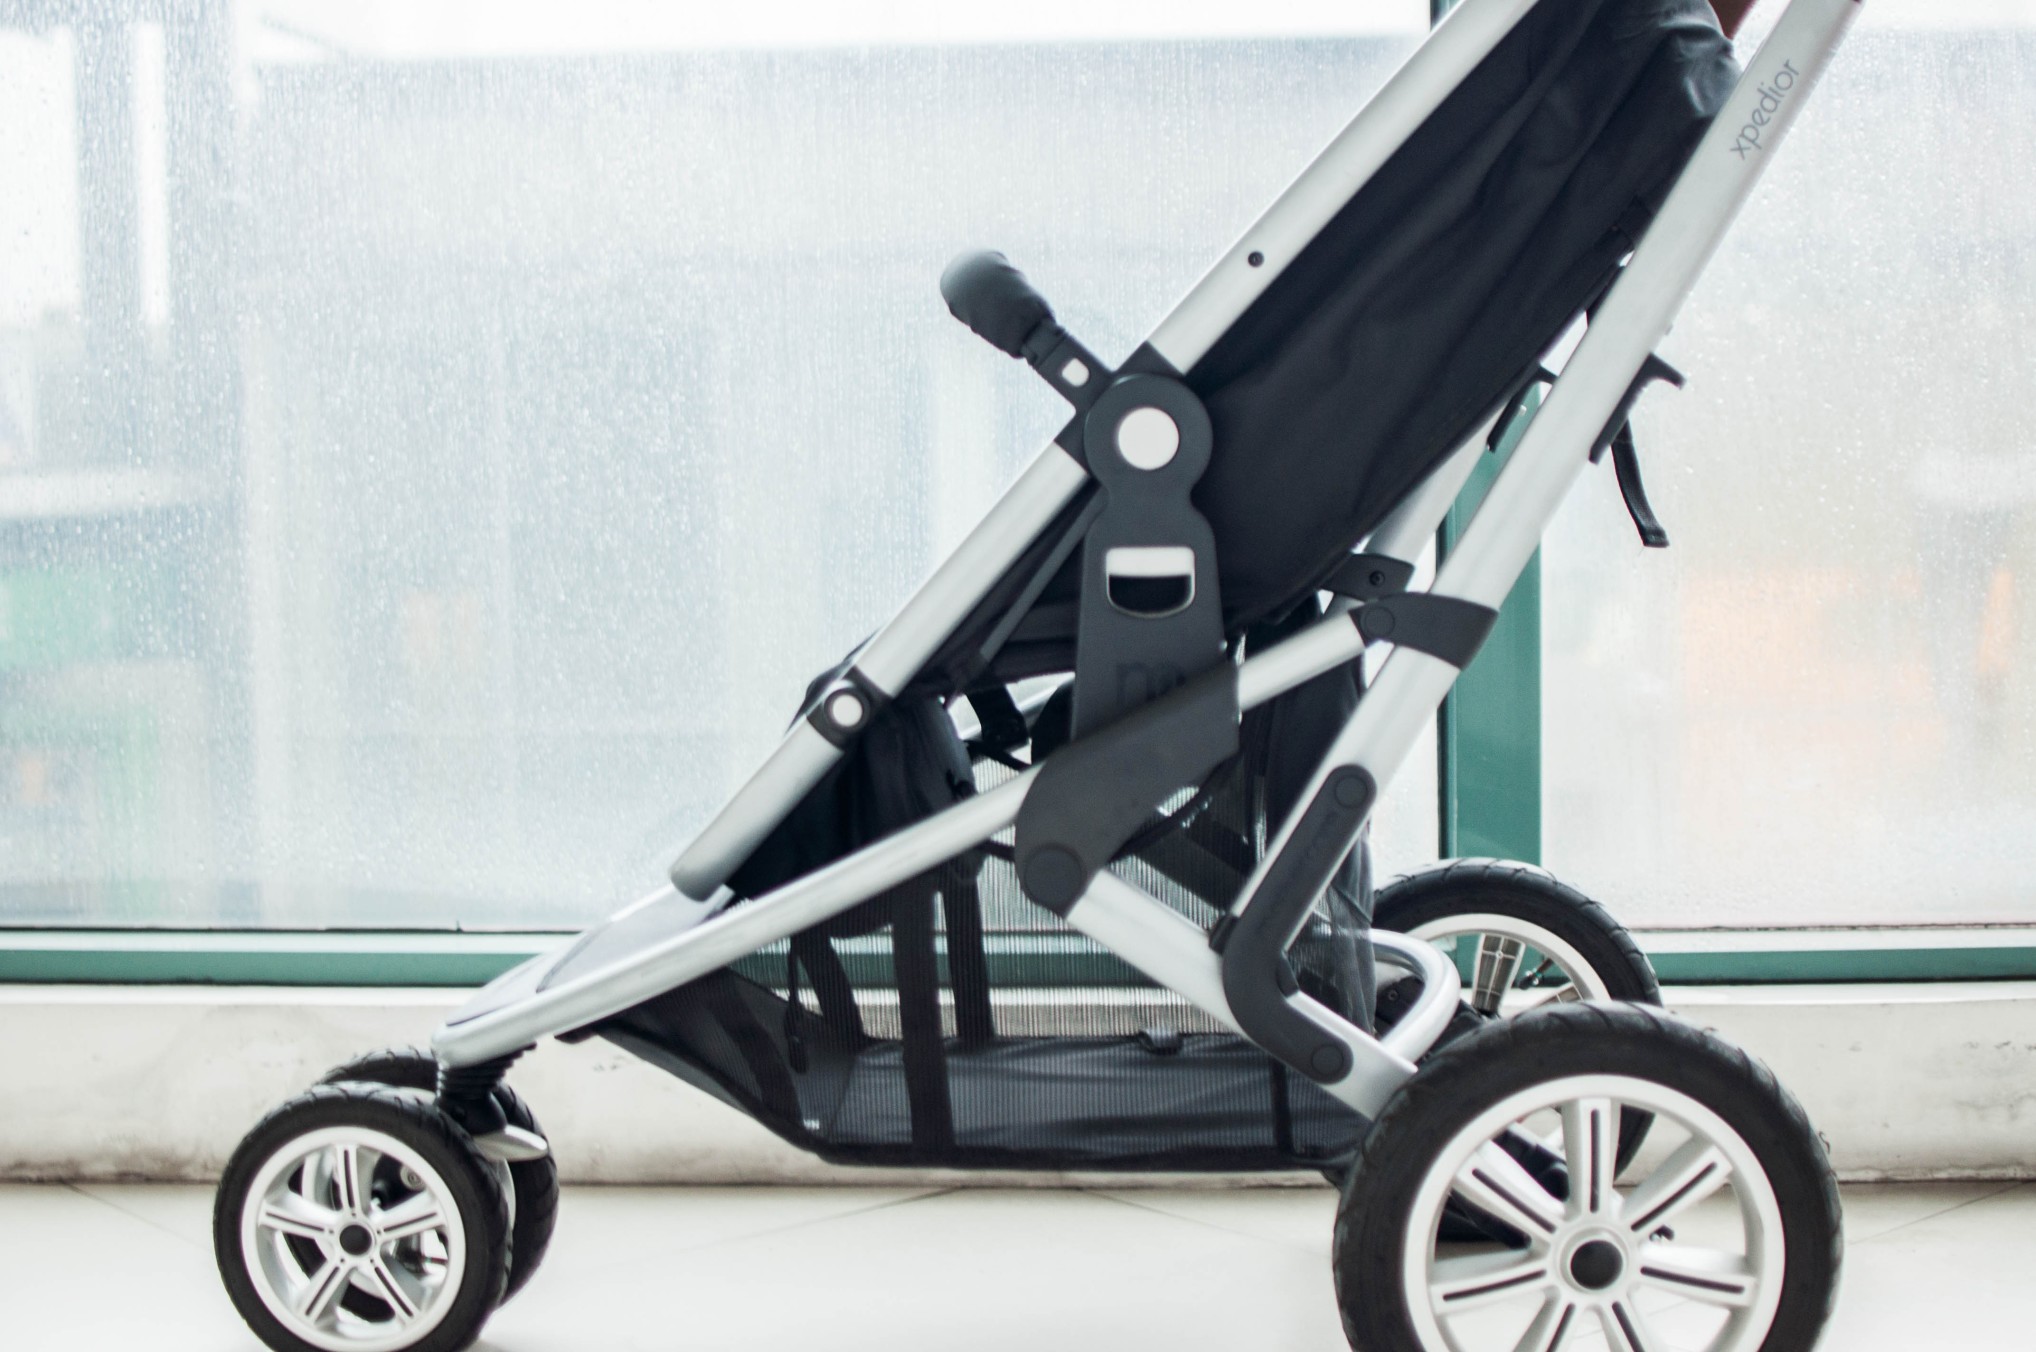
A board may attach to two rear frame tubes, one on each side of the stroller. Some strollers have a single central tube or a low storage basket that blocks the mounting area. In those cases, you may need a brand-specific adapter.
Check the frame before you buy or fit the board
Measure the space between the rear frame tubes if the board instructions give a permitted range. Also check the tube shape. Round tubes, oval tubes, square tubes, and angled tubes may need different connectors.
Do not attach a board to:
- The handlebar
- The basket fabric
- The brake cable
- A folding hinge
- A loose or removable accessory
- A frame section not named in the instructions
If the manual lists a specific adapter for your stroller, use that adapter. Do not drill the frame, add homemade spacers, or replace the supplied hardware with random parts.

How to Attach a Buggy Board Step by Step
The safest method is to attach the board while the stroller is empty, parked, and fully open. Work through the steps in order.
1. Open and lock the stroller
Open the stroller in its normal use position. Engage the parking brake and place it on level ground.
Make sure the stroller is stable before you work behind it. Do not attach the board while a child is sitting in the stroller. A child’s weight can shift the frame while you are fitting the connectors.
2. Identify the correct mounting points
Look at the rear lower frame tubes. These are usually the two bars below or behind the stroller seat.
Read the buggy board manual to confirm the correct position. The connectors often sit:


- Behind the rear wheels
- Above the rear axle
- On the lower side tubes
- At a set distance from the wheel or frame joint
Keep the board centered behind the stroller. If it sits too far to one side, it may rub a wheel or make the stroller pull during a turn.
3. Fit the left and right connectors
Place the first connector around the correct frame tube. Then place the second connector on the opposite side.
Depending on the design, you may need to:
- Open a clamp and close it around the tube
- Slide a bracket onto the frame
- Thread a strap through a buckle
- Insert a pin into a mounting hole
- Tighten a knob or screw by hand
Do not fully tighten the first side before positioning the second. Leave both connectors slightly loose so you can center the board.
4. Attach the board arms or brackets
Connect each board arm to its matching stroller connector. Look for a click, locking pin, or alignment mark.
The board should sit level from side to side. Its front edge should not press against the stroller’s rear wheels. The board also should not point sharply downward unless the manual shows that position as normal.
If the board uses spring-loaded buttons, check that each button has fully returned to its locked position. A button that sits halfway out may allow the board to detach.
5. Center the board
Stand behind the stroller and look down the center line. The board should track behind the stroller rather than sit at an angle.
Centering matters because it helps:
- Keep the child’s weight balanced
- Reduce contact with the stroller wheels
- Preserve normal steering
- Give the rider a stable standing area
Some models allow a small amount of side-to-side adjustment. Use the adjustment range in the manual. Do not force the board into the center if the frame or connector design does not allow it.
6. Tighten both connectors
Tighten the left and right connectors evenly. Hand-tighten knobs until the board does not shift, then use a tool only if the manual says one is required.
Do not overtighten plastic clamps. Excess force can crack the clamp or damage the stroller tube. A connector should hold the board firmly without crushing or bending the frame.


7. Check the brake and wheels
Set and release the stroller brake several times. Confirm that:
- The board does not block the brake pedal or lever.
- The rear wheels spin freely.
- The board does not touch either wheel.
- The board does not drag on the ground.
- The stroller can turn left and right.
If the board blocks the brake, stop using it. A stroller that cannot park securely presents a fall and roll-away risk.
8. Test the board without a child
Push the empty stroller slowly across a flat surface. Turn in both directions, stop, and apply the brake.
Then press down on the board with your hands. Use firm, gradual pressure rather than jumping or dropping your weight onto it. The board should stay attached and should not swing, twist, or scrape the ground.
After this test, inspect both connectors again. If either side moved, refit the board before use.

How to Tell if the Buggy Board Is Attached Correctly
A properly attached board stays stable when you press down on it and remains clear of the stroller’s wheels. The stroller should also remain easy to push and steer.
Use this quick check before every ride:
| Check | What you should see |
|---|---|
| Connectors | Both sides are closed and locked |
| Board position | Level, centered, and aligned with the stroller |
| Wheels | No rubbing or contact |
| Brake | Easy to reach and fully functional |
| Folding | Works only as allowed by the manual |
| Board movement | No excessive wobble, swing, or twist |
| Surface | Clean, dry, and free from cracks |
| Child position | Feet stay on the board, with both hands on the stroller |
A small amount of movement may be normal on some boards. Excess movement is not. If the board swings from side to side, the connectors may be loose, the frame may be outside the allowed size range, or the wrong adapter may be installed.
Test with the child only after the empty test passes
Once the board passes the empty test, have the child step on while you hold the stroller firmly. Keep the stroller brake set for this first step-on check.
Ask the child to:
- Stand in the center
- Hold the stroller handles
- Keep both feet on the riding surface
- Avoid jumping or leaning far to one side
- Step off when the stroller is stopped
Walk slowly at first. Watch how the stroller turns, stops, and rolls over small changes in pavement. A board changes the stroller’s length and can reduce the space available for your stride.

How to Attach Different Types of Buggy Boards
Buggy boards use different attachment systems, but the safety goal is the same: both sides must hold the board to a strong part of the stroller frame.
Clamp-on buggy boards
Clamp-on models use brackets that close around the stroller tubes. These are common on boards designed to fit several stroller shapes.
To fit one:
- Place each clamp on the approved frame tube.
- Keep both clamps loose while you position the board.
- Attach the board arms.
- Center the board.
- Tighten each clamp evenly.
- Test for movement and wheel contact.


Clamp-on systems need close attention to tube size. A clamp that is too large may slide. A clamp that is too small may not close correctly.
Strap-based buggy boards
Strap-based models use webbing or buckles around the stroller frame. Thread each strap exactly as shown in the instructions.
Check that:
- The strap lies flat.
- The buckle is fully closed.
- The strap does not touch a wheel.
- The strap does not cover a brake control.
- Both sides have similar tension.
Do not tie extra knots in a strap unless the manufacturer specifically allows it. A knot can change how the strap releases or holds under load.
Adapter-based buggy boards
Some stroller brands require a separate adapter. The adapter creates the correct mounting point for the board.
Install the adapter first, then attach the board to the adapter. Use only the adapter listed for the stroller and board combination. A board can appear to fit while still placing force on the wrong part of the frame.
Folding or lift-away boards
Some boards lift up when not in use. Others detach from the stroller or remain attached during folding.
Never force the stroller closed with the board installed. If the stroller does not fold as the instructions show, remove the board or use its approved lift-away position. Watch for pinched straps, bent brackets, and pressure on the stroller frame.
What to Do if the Buggy Board Does Not Fit
If the board does not fit, stop and find the cause before tightening anything. Do not modify the board or stroller to make the connection work.
| Problem | Likely cause | Safe response |
|---|---|---|
| Clamp will not close | Frame tube is too large or the wrong connector is used | Check the size range and adapter list |
| Clamp slides | Frame tube is too small, wet, dirty, or poorly positioned | Clean and dry the tube; confirm compatibility |
| Board rubs the wheel | Board is off-center or mounted too close to the wheel | Reposition it within the approved range |
| Board hangs too low | Wrong arm position or unsuitable frame geometry | Check the manual; do not bend the arms |
| Stroller will not brake | Board or connector blocks the brake | Remove or reposition the board |
| Stroller pulls to one side | Connectors are uneven or the board is not centered | Loosen, align, and retighten both sides |
| Board swings widely | Loose hardware or wrong adapter | Recheck locks and compatibility |
| Stroller will not fold | Board is not designed to fold with the stroller | Remove it or use the approved folded position |
| Parts are missing | Incomplete kit or lost hardware | Contact the maker before use |
If the board still does not fit after you follow the manual, treat it as incompatible. A different board or manufacturer-approved adapter may be needed.

Common Mistakes to Avoid
The most common mistake is treating a universal buggy board as a universal fit. “Universal” usually means the board fits a range of frames under stated conditions. It does not mean it fits every stroller.
Avoid these errors:
- Attaching the board to the wrong frame tube
- Tightening one side before aligning the other
- Leaving a locking pin only partly engaged
- Covering the brake with a strap or bracket
- Letting the board touch a rear wheel
- Exceeding the board’s weight limit
- Carrying a child on the board while folding
- Allowing a child to sit on a board made for standing
- Using the board on stairs, escalators, or rough slopes
- Letting a child jump on the board
- Replacing missing parts with hardware from another product
- Continuing to use a cracked board or damaged connector
A child should not ride on the board while the stroller is moving through traffic, near a curb, or on stairs. The rider can fall even when the board itself remains attached.

Buggy Board Safety and Daily Use
A buggy board works best for short trips on smooth, level paths. It changes the stroller’s balance, turning radius, and stopping feel.
Before each use, inspect the board and the stroller. Look for cracks, bent parts, loose screws, worn straps, missing pins, and damaged wheels. Clean dirt from the connectors because grit can prevent a clamp or lock from closing fully.


Follow the board maker’s age, height, and weight guidance. The correct limit depends on the specific product, so use the manual or label for the exact value. Do not assume that the stroller’s weight limit also applies to the board.
Keep the child’s hands on the stroller handle and feet on the board. An adult should remain in control of the stroller at all times. Never leave a child standing on a board while the stroller is unattended.
Watch your stride
The board reduces the walking space behind the stroller. You may need to stand slightly to one side or take shorter steps. Do not push from a position that makes you lose control.
Practice in an open area before using the board in a crowded store, parking lot, or sidewalk. Learn how the stroller turns and how much room the child needs to step off safely.

How to Remove a Buggy Board
To remove the board, park the stroller on level ground and engage the brake. Take the child off first.
Release the locking pins, clamps, straps, or levers in the order shown by the manual. Support the board as you detach the second side so it does not drop onto your feet or pull the stroller backward.
Store the board in a dry place. Keep small pins and adapters with the board so they are not lost. Before the next installation, check that no part has bent or cracked during removal.

When to Contact the Manufacturer
Contact the stroller or buggy board manufacturer when the fit is unclear, the manual is missing, or the frame does not match the compatibility list. Provide the exact stroller model, board model, and frame photos if the company requests them.
Ask for help if:
- A connector will not lock
- A required adapter is missing
- The stroller frame has been damaged
- The board touches the brake or wheel
- The board loosens after correct installation
- The stroller folds differently after attachment
- You are unsure whether a replacement part is genuine
Do not use the board until the manufacturer confirms the setup or supplies the correct part. If the stroller has a damaged frame, have the stroller maker or a qualified repair service assess it.

Key Takeaways
- Check compatibility before attaching a buggy board.
- Install it on the approved rear frame tubes, not the basket or handlebar.
- Keep both connectors loose until the board is centered.
- Tighten both sides evenly without overtightening.
- Confirm that the brake and wheels work normally.
- Test the empty stroller before allowing a child to ride.
- Stop using the board if it wobbles, rubs, cracks, or blocks the brake.
- Follow the board’s own age and weight limits.
FAQs
Can I attach any buggy board to any stroller?
No. Some boards fit many stroller frames, but every model has limits. Check the board maker’s compatibility list, tube size range, adapter requirements, and folding instructions.
Should the buggy board touch the stroller wheels?
No. The board should remain clear of the wheels during straight movement and turns. If it rubs, reposition it only within the approved adjustment range or use the correct adapter.
Can a child sit on a buggy board?
Only if the product is designed and approved for sitting. A standing board should not be used as a seat. Check the product manual for the permitted riding position.
Can I leave the buggy board attached when I fold the stroller?
Only if the instructions specifically allow it. If the stroller resists folding, remove the board. Never force the frame closed.
Why does my buggy board wobble?
A loose connector, incorrect frame position, wrong adapter, worn part, or incompatible stroller can cause wobble. Recheck both locks and the compatibility information. Replace damaged parts rather than tightening them beyond the instructions.
Is a buggy board safe on stairs?
No. Remove the child from the board before using stairs, escalators, curbs, or other areas where the stroller may tilt. Carry or fold the board according to the product instructions.
Conclusion
To attach a buggy board safely, use the correct board and adapter for your stroller, mount it to the approved frame tubes, center it, and lock both connectors. Then check the brake, wheels, folding action, and board stability before your child rides.
Start with a slow test on a flat surface. If the board does not fit securely or changes the stroller’s control, do not use it until the manufacturer confirms the setup.